
In this post, we want to show more photos of building process for our proa Folk.
We can share some photos made by Kasia – our client. Kasia started building just after 2021 Cristmas.
She bought our PJOA FOLK kit and started work with help of her friend who is a carpenter.
Looks like building process goes smooth with no big issues. We are waiting for summer when new proa will turn out :).
Pictures and descriptions below, gallery will constantly grow.
Part 1. – unpacking, reading plans and instruction, connecting long parts for Ama.
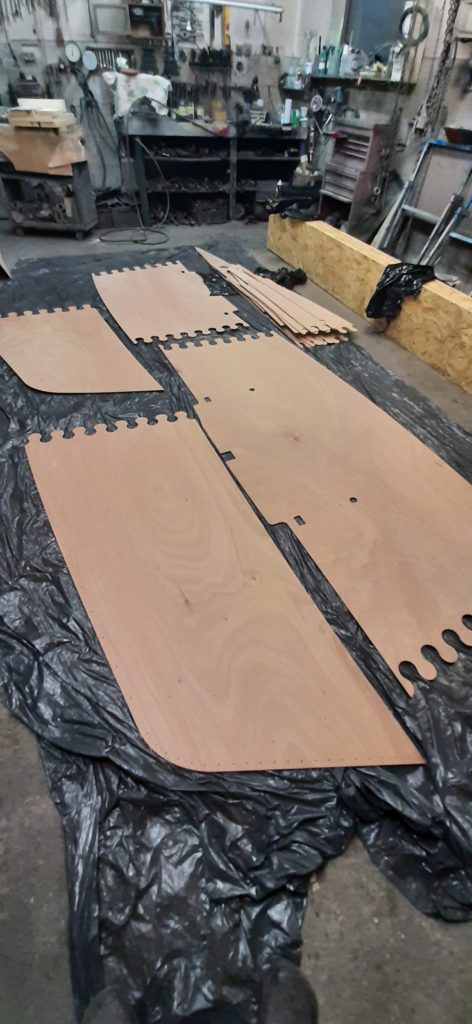

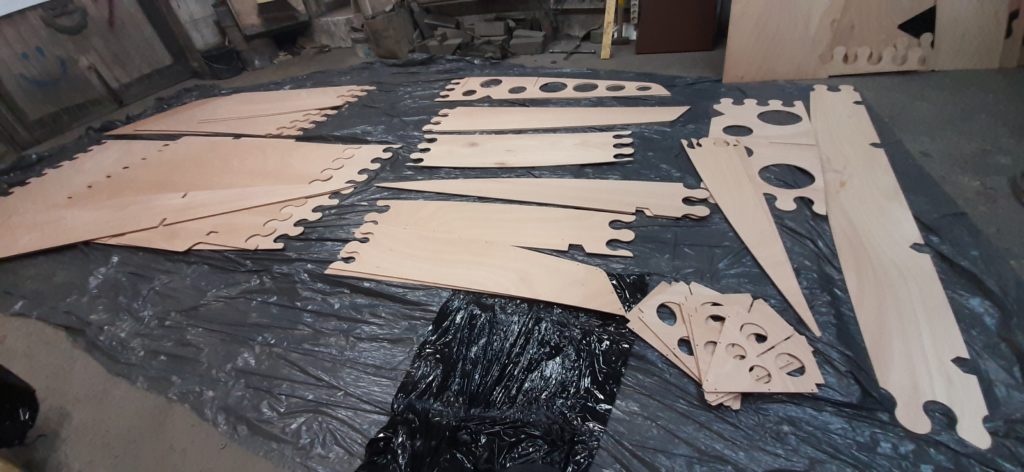

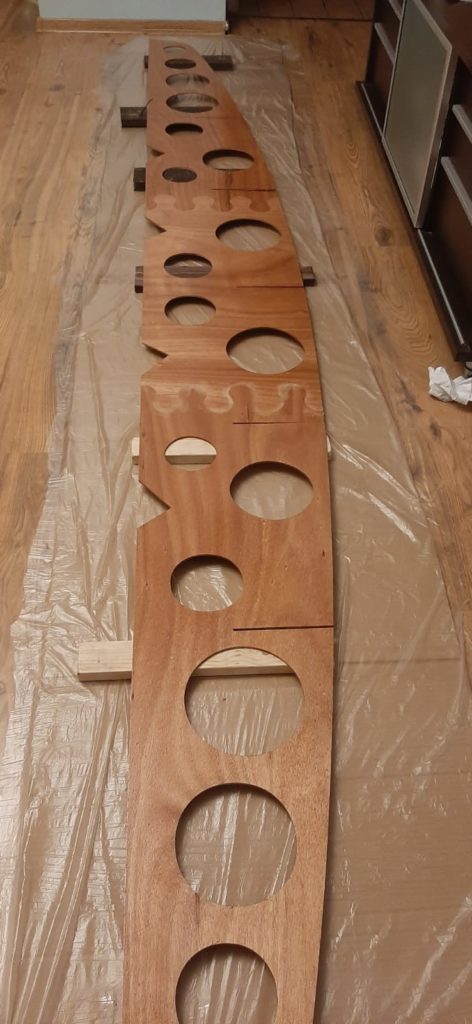
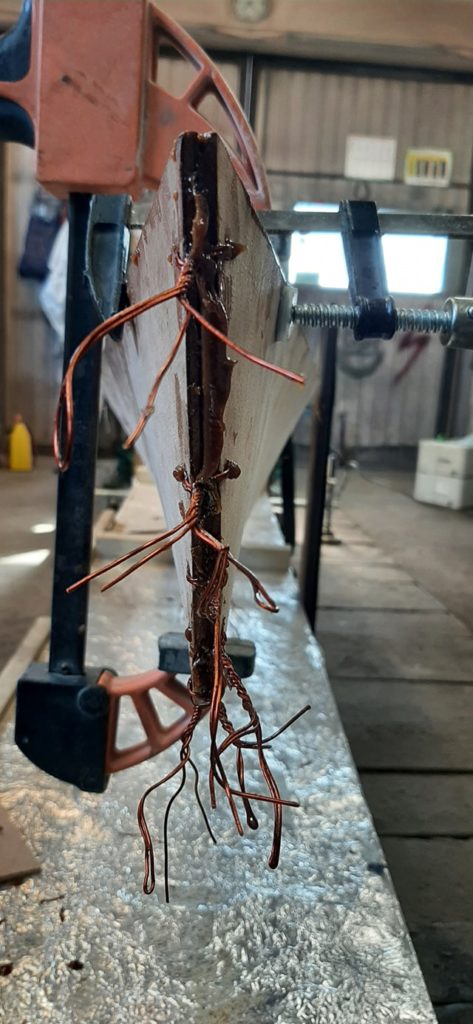
These are Okoume plywood parts cutted with CNC, we have all holes for wire for stiching, “finger connection” for joining parts of sides etc. All together works like LEGO bricks :).
First thing is to take a look on all parts, match it with plans and order of activites and imagine what will first steps look like, how many space do you need, maybe some parts you can join in room 🙂 and then moove to workshop.
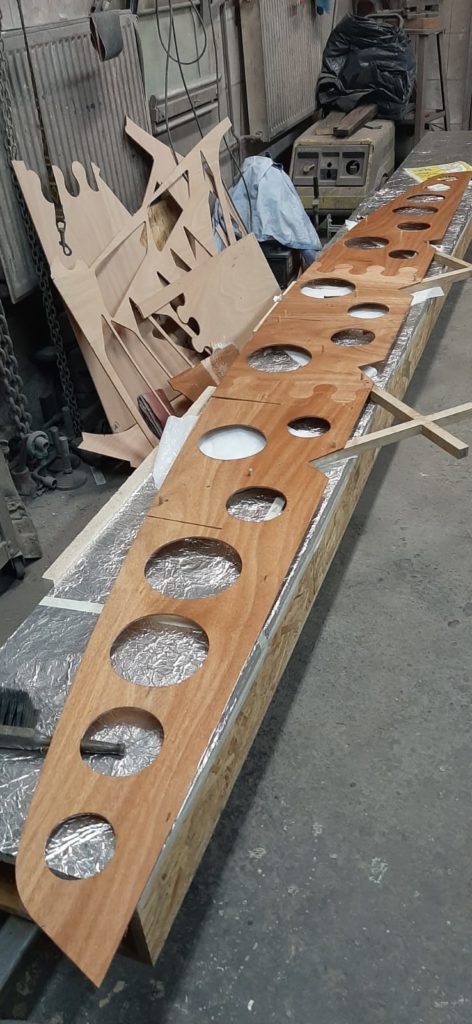
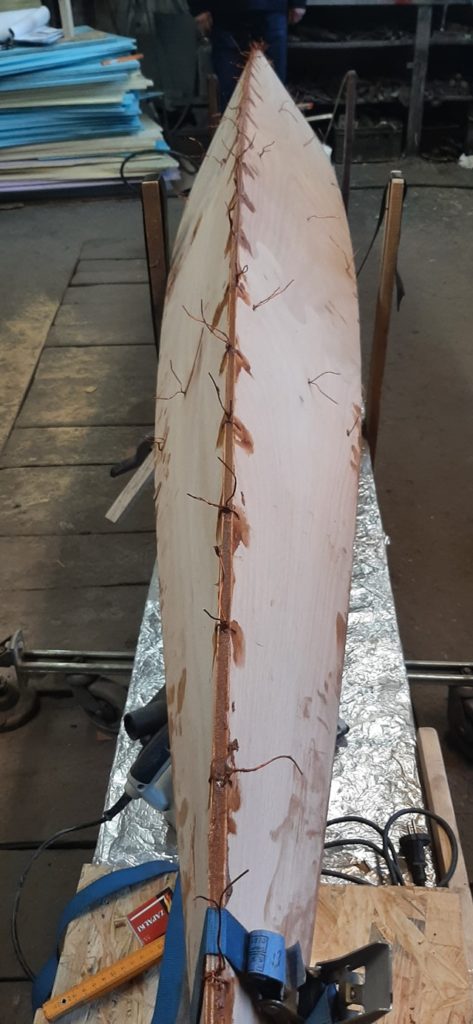
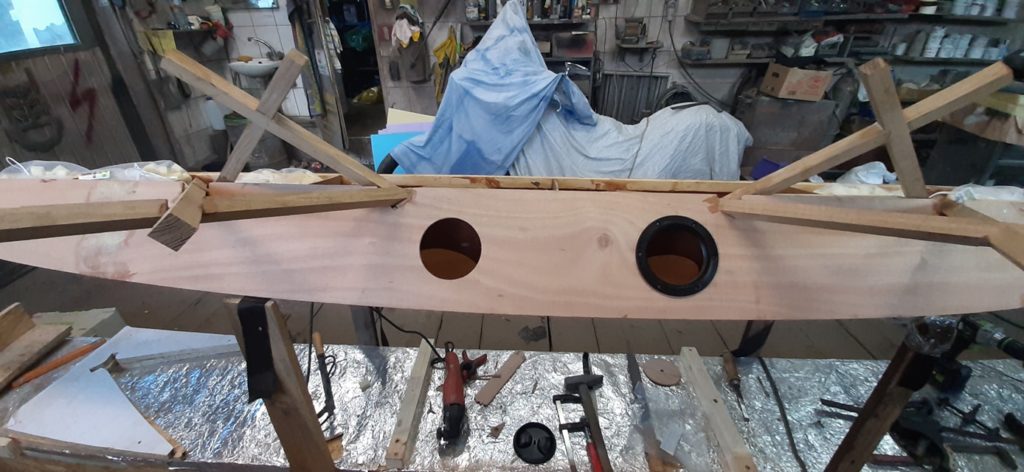
When its your first boat you build it is good to start form ama. Smaller hull, almost same challenges as in waka and opportunity to learn and try many things in smaller scale 🙂
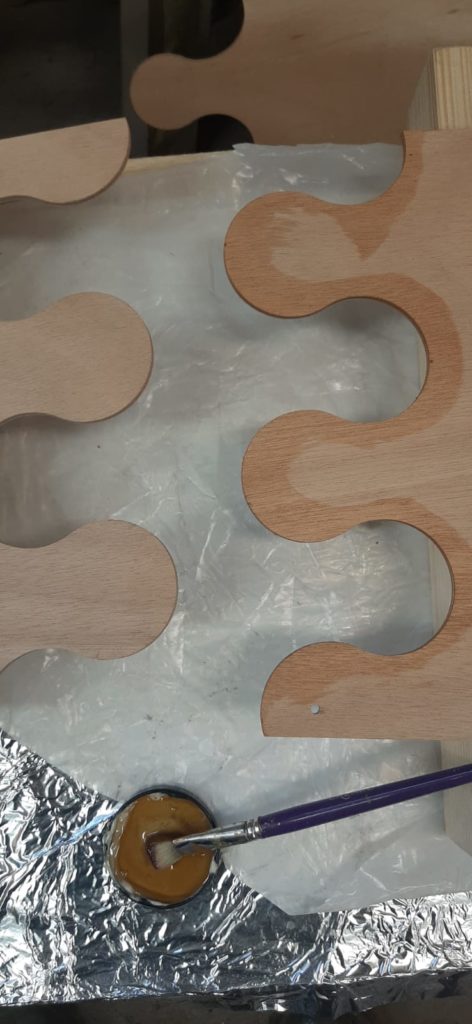
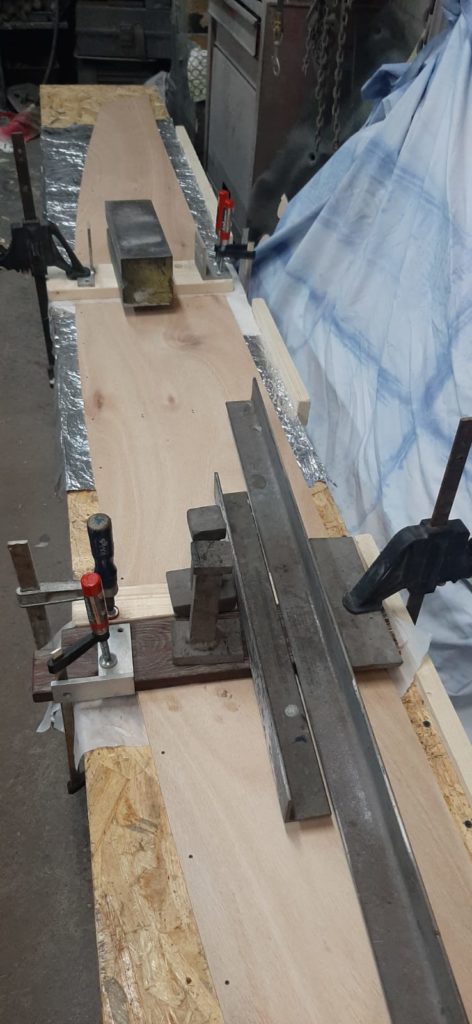
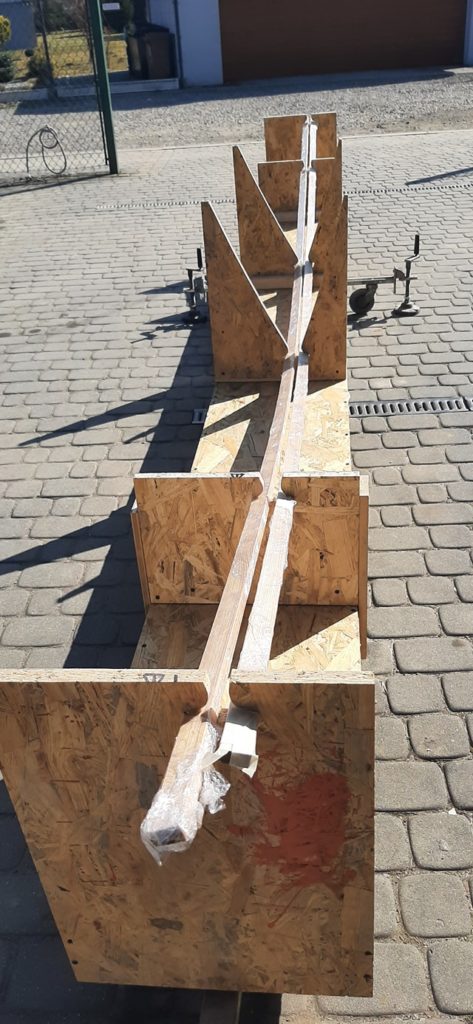
Few things for prepartion before assembly: joining sides, central stringer, preparing platform – ama poles, securing with epoxy.
Part 2. – Ama assembly.
Using simple assembly bench you put sides into, attaching bulkheads to central stringer and slip between sides.
Stiching and glueing sides, adding side slats.
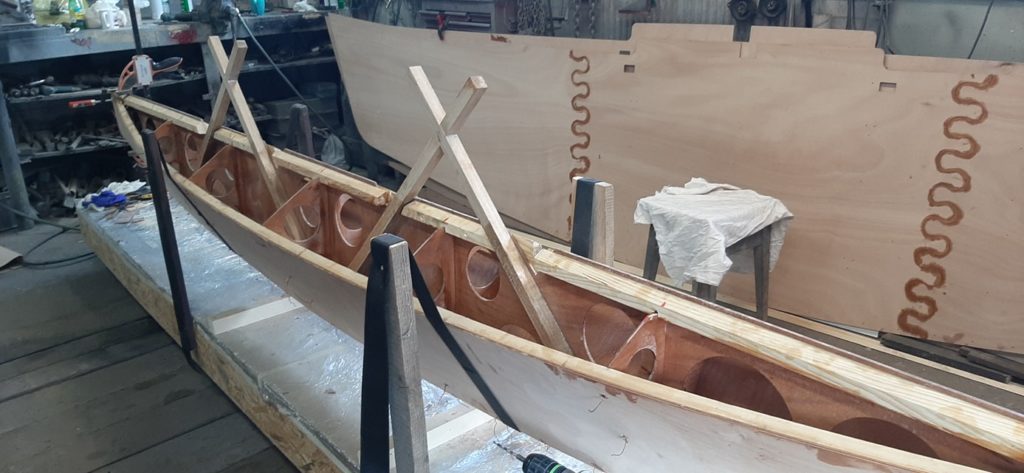
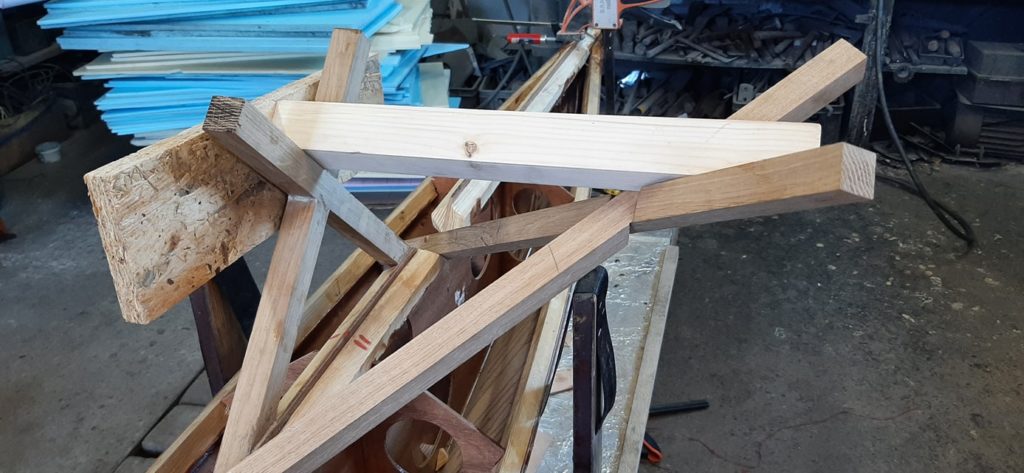
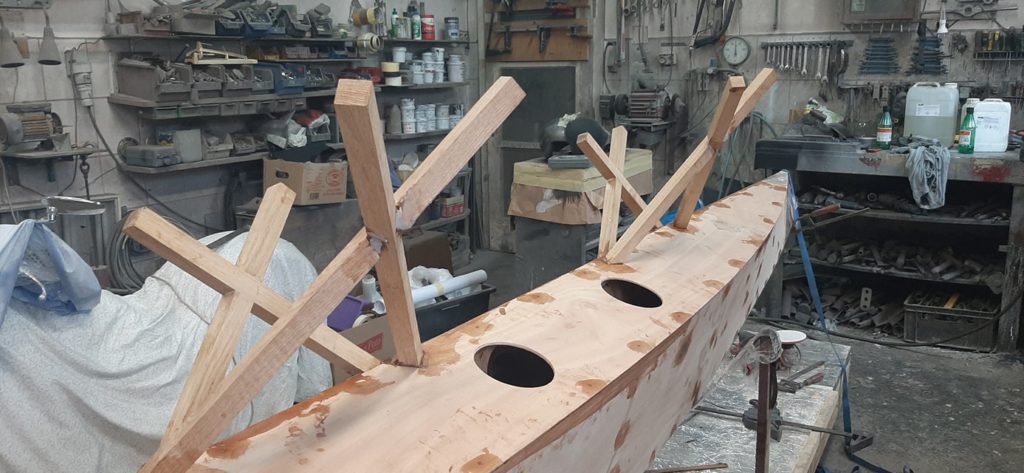
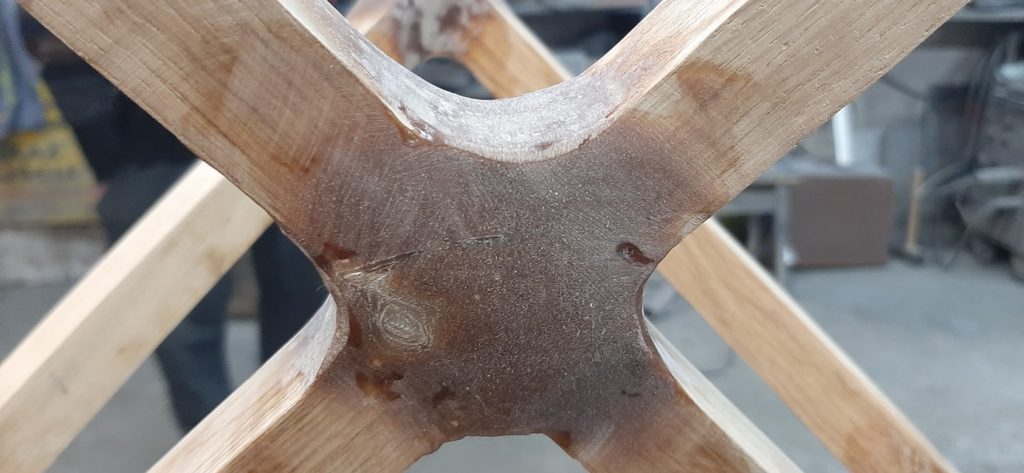
Next thing is mounting diagonal poles to create complete connection for platform. It is important to use some wooden slat or piece of pipe to simulate platform and match carefully the structure.
When its ready they add safety displacement and starts to prepare for closing ama with half – decks.

Part 3. – closing the ama.
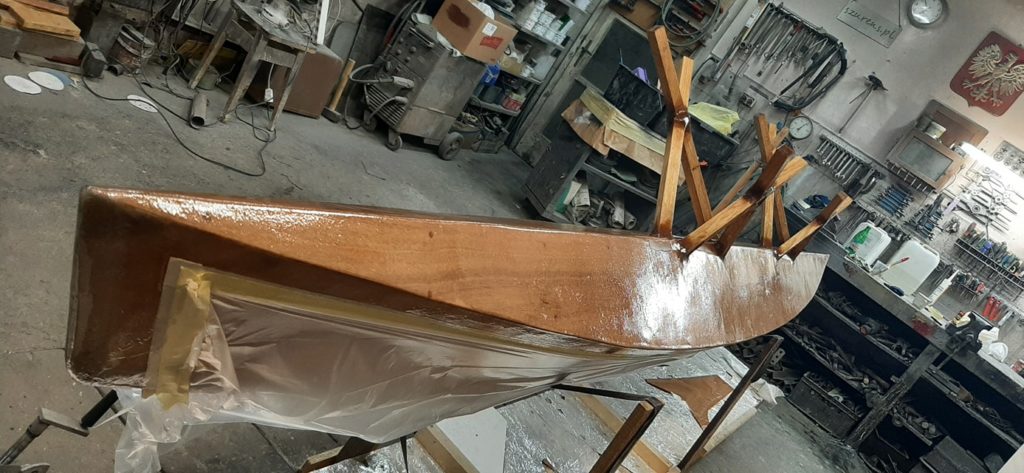
When all parts are pre- matched with each other, half – decks can be attached and glued.
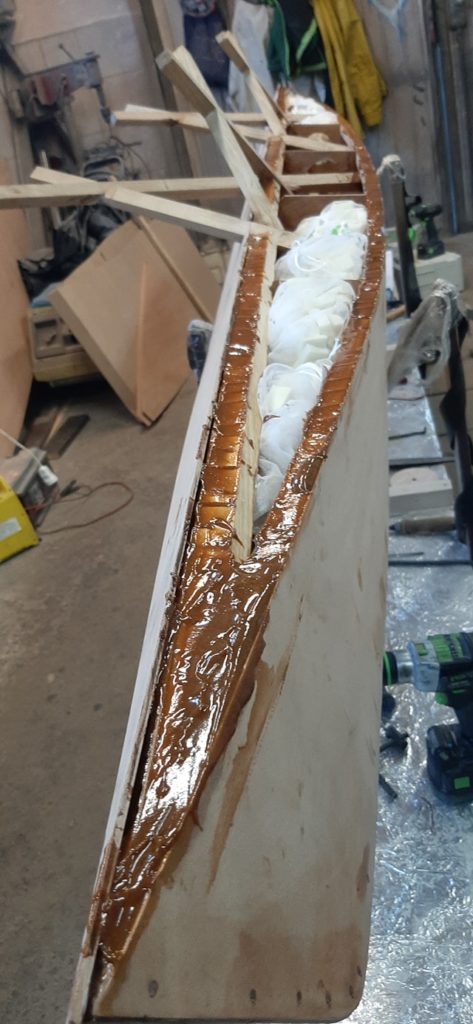

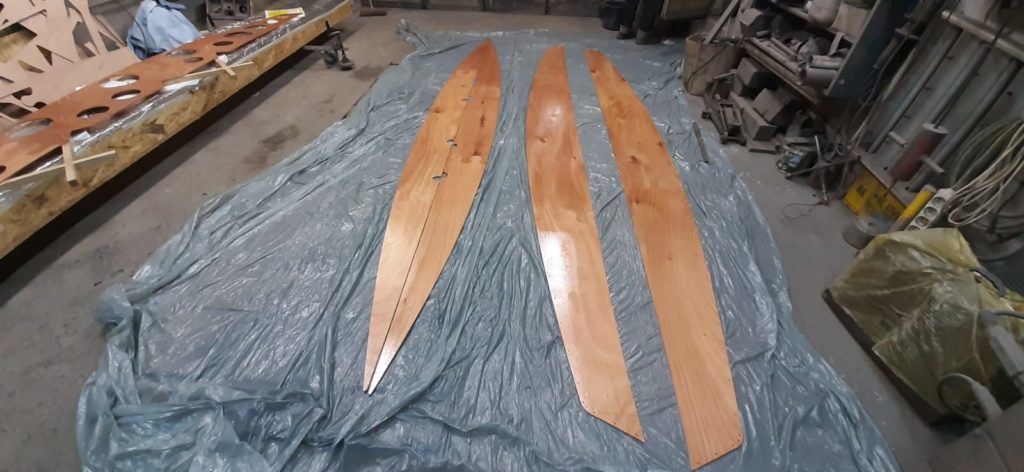
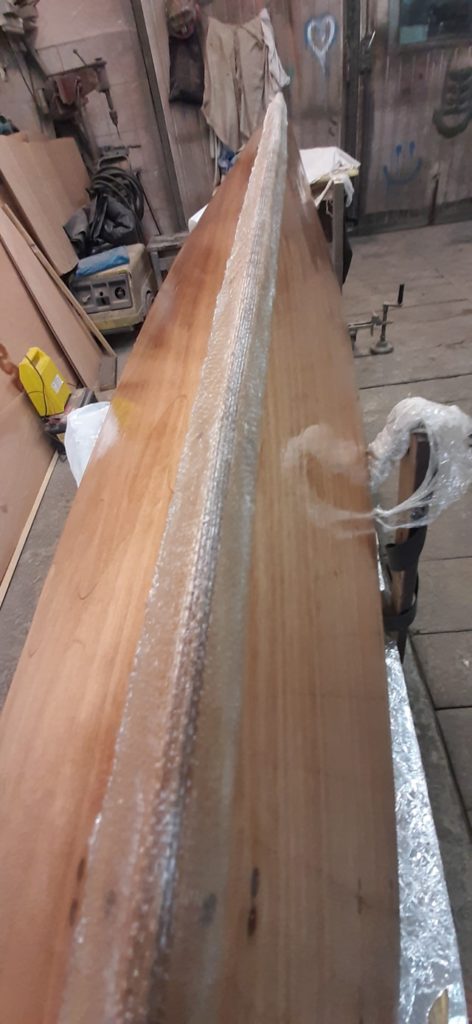
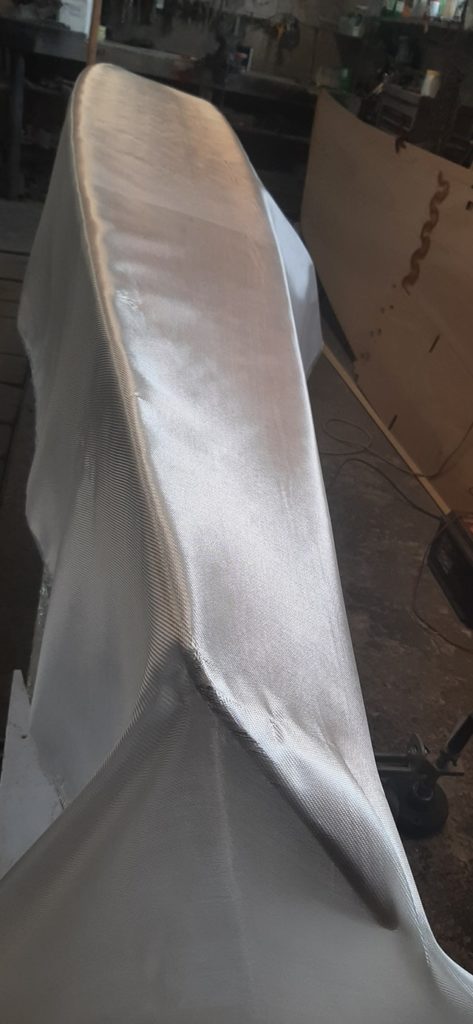
So now its time to prepare for laminting and finishing. Keel has an extra layer of glass for secure. Glass cloth overlap on sides and decks.
Part 4. main hull – preparations.
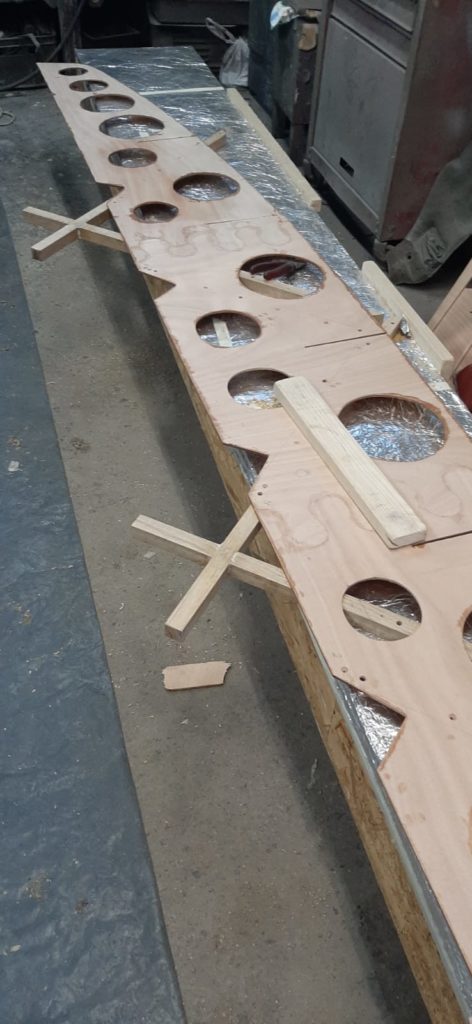
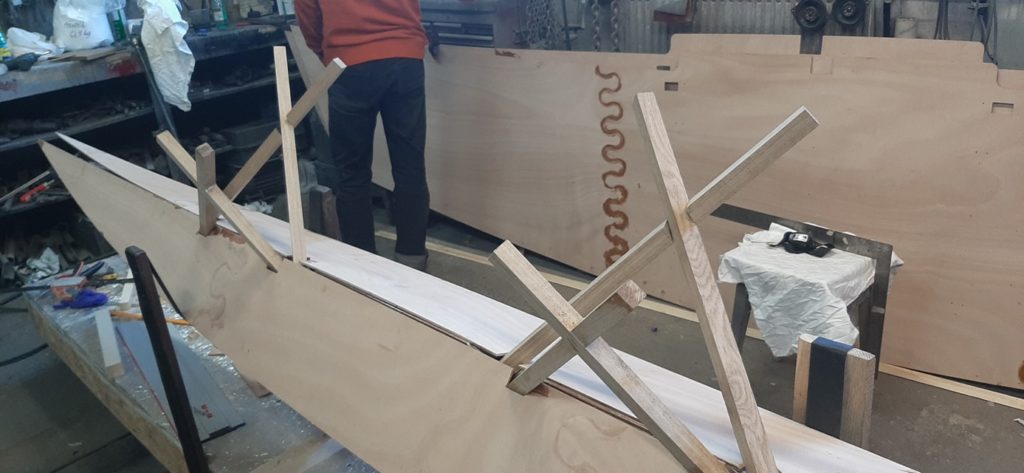
First thing is to make a comfortable assembly bench :). Comfortable means that you can quite easy match hull sides, stich them and hull will have correct geometry. We designed special bench for it with wodden slats along keel.
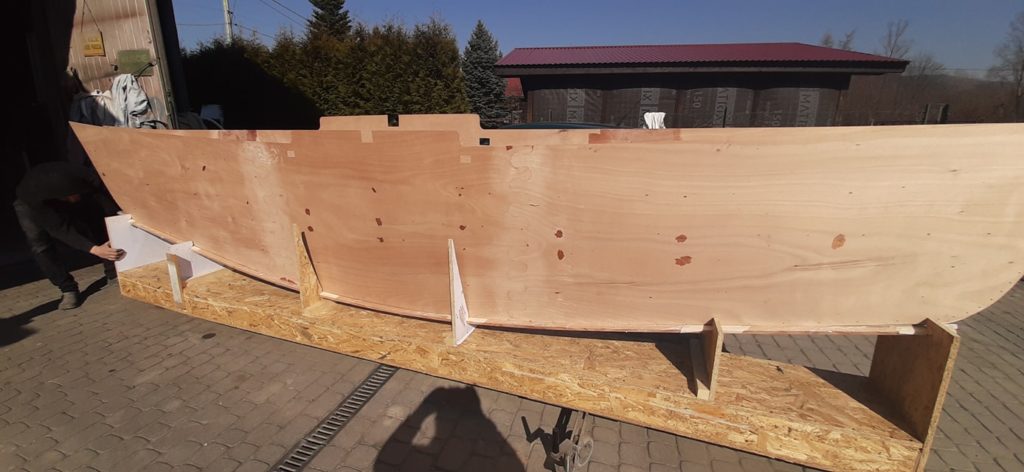
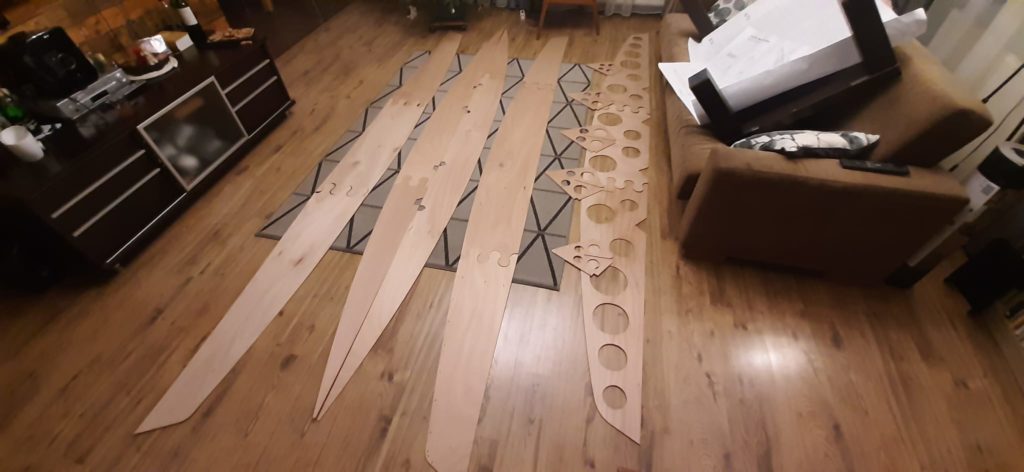
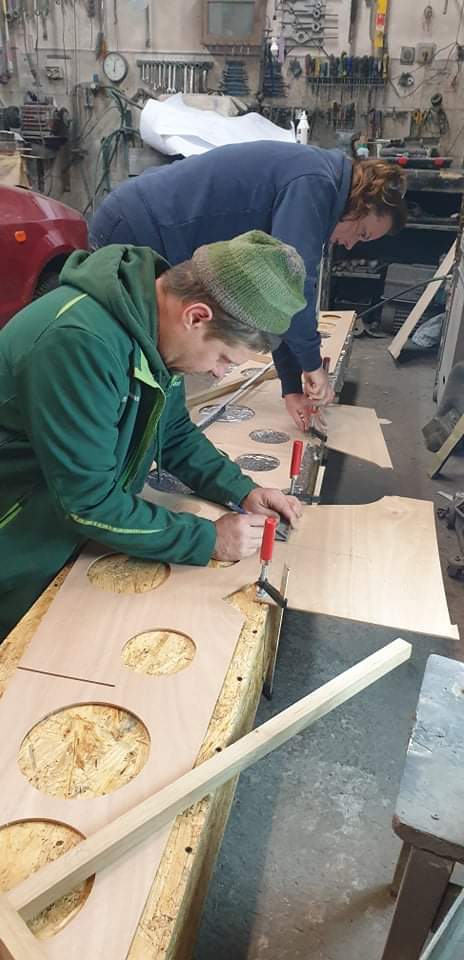
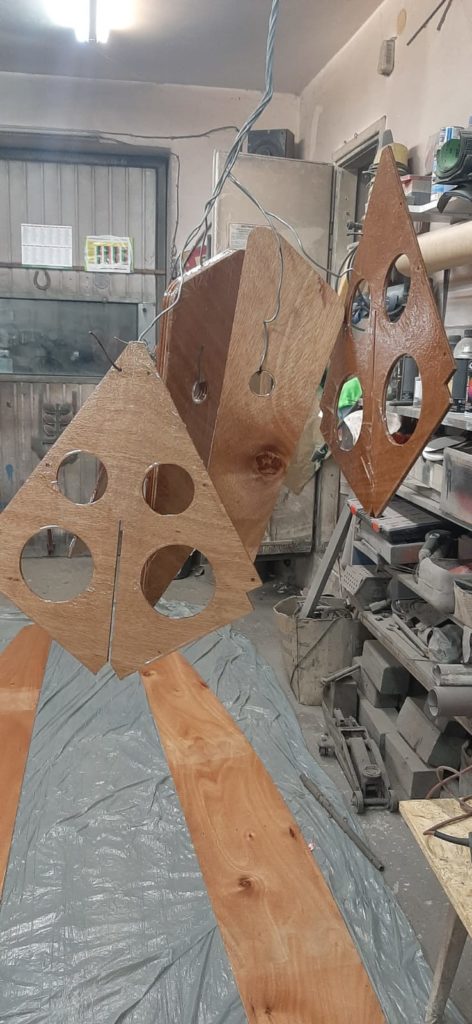
Similar to ama, firts operations are preparing sides, you have to join them, secure with epoxy and attach longitudinal slats. Next step is to make main hull bulk heads. We use 1:1 paper forms for it so you have to cut pine slats and put them on to find final shape.
No Comments